
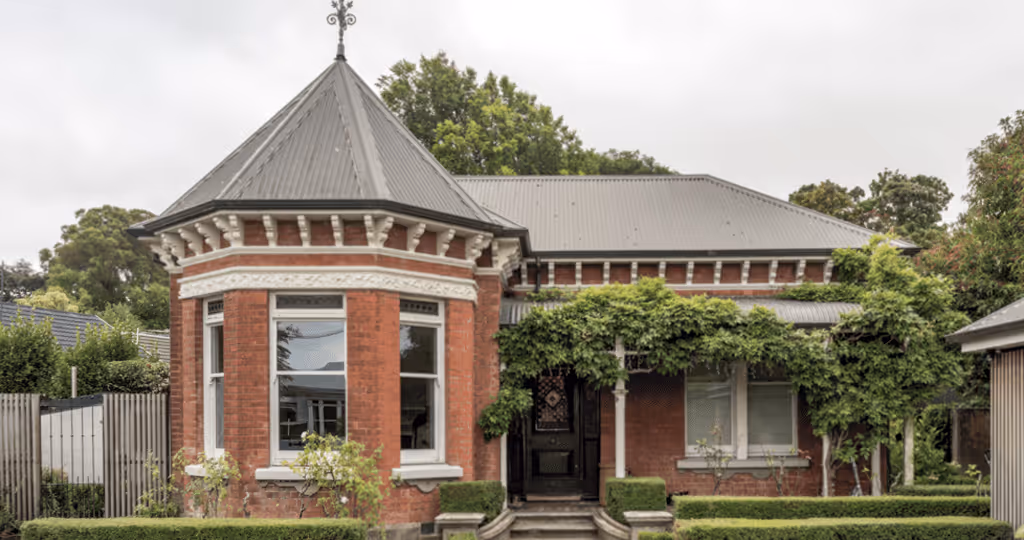
1880s-1920s
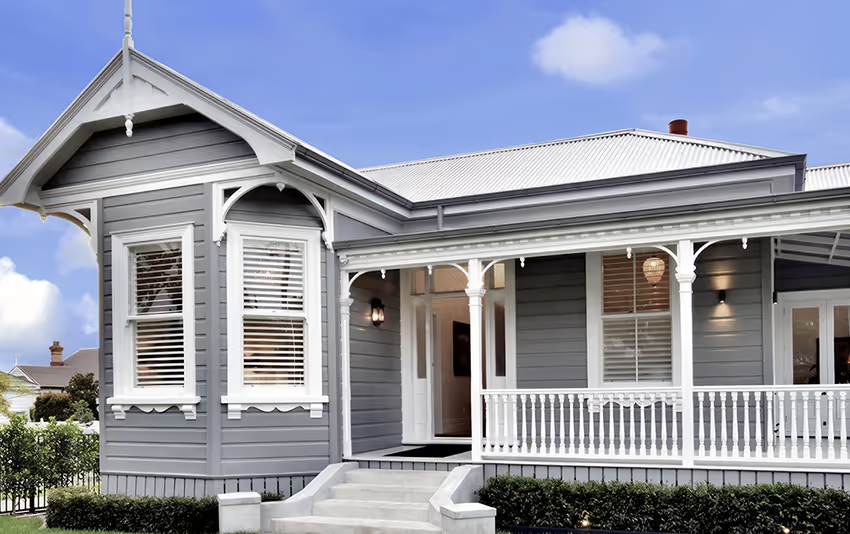

1880s-1920s

Conversions in the 1920s and 30s for bathrooms and plumbing – often including further lean-to extensions on the back of the house
Rewiring for lighting, power, cooking and hot water services (1920s onwards)
Replacement of the original timber or brick pile foundations with concrete (1950s onwards)
Replacement of the original wall linings – wallpaper on scrim or sacking over timber boards, or tongue-and-groove timber in the kitchen and service areas – with plasterboard (1960s onwards)
Replacement of original sash windows with often inappropriate 1960s or 70s window styles
Conversion of larger homes into flats (1960s onwards)
Addition of minimal insulation in the roof cavity (1970s onwards)
WHAT YOU MIGHT FIND IN YOUR VILLA – AND WHAT CAN BE DONE...
FOUNDATIONS & FLOORS
Missing or inadequate piles and joists
Piles may be of rocks or bricks plastered over – or old concrete now compromised
Poor subfloor structures can result in:
· Sagging joists or bouncy floors
· Uneven floors
· Sagging verandahs and porches
Identify areas where foundation structures are causing problems and replace or support with new concrete piles and new bearers and joists.
Previous renovations to piles, joists or bearers
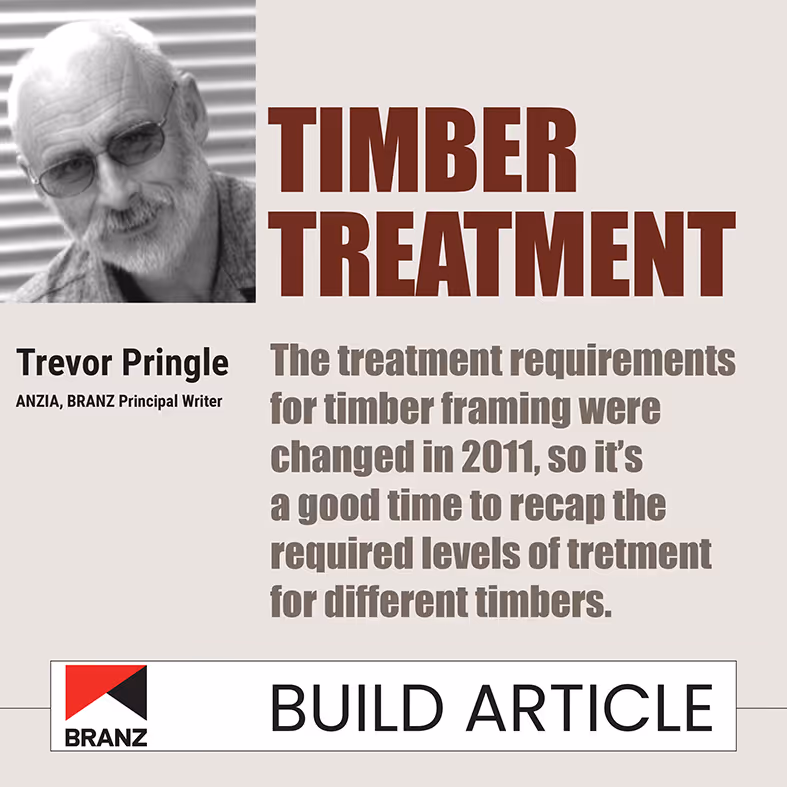
Since 2011 most structural timbers must be treated to protect against insect attack and decay:
GO TO LINK
Treated timbers are likely protected with CCA (copper, chromium and arsenic) – banned in most other countries but still used in NZ – or with boron (radiata pine – pink colour)
Handling and cutting treated timber must be done with proper protective equipment – gloves, mask, goggles, long sleeves to cover skin
Any sawdust or offcuts must be carefully disposed of to avoid soil contamination
Depending on your budget you may wish to choose timber treated with more natural products such as MCA (Micronised copper azole).
Lack of ground clearance – poor access to subfloor
If there is inadequate clearance between the joists and bearers and the ground, the best option is to tackle each room from the top – take out the flooring and address the subfloor structures from above before:
· Installing damp-proofing (plastic sealed closely to the subfloor structure to protect against moisture)
· Installing good insulation
· Replacing or renewing the flooring
Poor subfloor ventilation
Check ventilation grilles in the foundation walls are clear – if necessary you can create new ventilation grilles to improve airflow.
Rising damp
Install damp-proofing to protect against moisture
Improve ventilation in the subfloor space
Identify problem areas and replace piles or timbers as necessary.
Cracked masonry
Identify problem areas and the causes – subsidence, earthquake damage, inadequate or compromised foundations
Restore level footings for piles and foundation walls, and repair and replaster as needed.
Foundation mortar may contain lime or asbestos
The first check for any renovation is to assess for asbestos in the structure and materials – this must be done by a properly qualified professional
Removal and disposal of asbestos must be undertaken by a properly qualified professional
Joists and bearers may have rot or borer damage
The borer will likely be long gone but the holes remain, creating risk of moisture getting in to the timbers
Identify areas most affected and replace with new joists and bearers
Lack of underfloor insulation
Retrofit suitable insulation – this may be done from below if there is reasonable access, or if there is inadequate access to the subfloor area, you can go down from the top, removing the flooring to make necessary changes while you install damp proofing and insulation
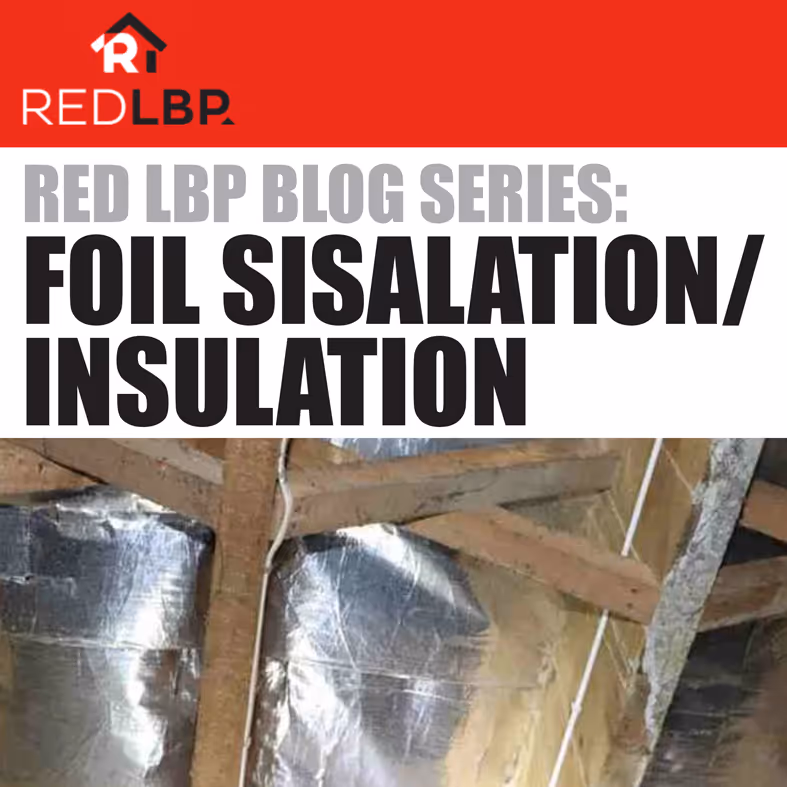
Previous retrofitted foil insulation
Through the 1970s many homes were fitted with sisalation foil, intended as underfloor insulation – this was often installed with a “draped sag” between joists with small holes for drainage of any moisture, compromising any insulation effectiveness
Since 2016 it has been illegal to install or repair sisalation foil in residential buildings because of the risks of electrocution (under the Building Code Clause G9 Electricity) – sisalation foil itself is not illegal, but installation or repair is now banned:
GO TO LINK
Removal should be done by a qualified professional with input from an electrician for basic safety
Replace with new effective insulation panels
FRAMING, INTERNAL WALLS & CEILINGS
Untreated native timber framing and boards – match lining, tongue-and-groove – may have moisture, rot, or borer damage
Assess the extent of damage and replace with new timber
While borer infestations will likely be long gone the holes remain and create significant risks for moisture getting in to the wall cavity or ceiling space
Depending on your budget, you may wish to choose timber and linings treated with more natural products such as CHECK WITH DAN
Hessian or scrim under other wall linings
Remove with care wearing suitable protective equipment – masks for dust, gloves
Retrofitted plasterboard or hardboard
Replace with new plasterboard or other linings as needed – dispose of the old material safely as it may include asbestos
Pressed metal wall or ceiling panels (zinc, tin, steel)
You may wish to retain these as a period feature – if so, check the ceiling materials and structure behind the metal panels for stability
Condensation can be an issue with metal ceiling panels – ensure there is adequate ventilation, insulation and damp proofing to avoid this
If you are not retaining the panels, remove and replace with new plasterboard or other linings
No insulation in walls
There are two basic ways to address a lack of wall insulation:
From the inside – strip out the interior wall linings and retrofit:
– Moisture proofing membrane layer
– Insulation
– Optional service cavity – benefits include minimising thermal bridging
– Install new interior linings with airtightness sealing
From the outside – strip off the exterior cladding and retrofit:
– Insulation
– Moisture proofing membrane layerNew exterior claddings
Retrofitted 1970s insulation may include urea-formaldehyde foam
Problems include:
· Reduced thermal effectiveness due to shrinkage or gaps
· Moisture retention in the wall cavity
· Health concerns
· Fire hazard
· Environmental impacts
BRANZ study: GO TO LINK
Remove and replace with new insulation
Removal should be undertaken by qualified professionals using proper protective equipment and disposing of the material safely
Walls no longer square or out of plumb
Check foundations – piles, bearers and joists – and replace or repair any problem areas causing uneven levels
Renew wall linings as needed – rehang doors as needed
Draughts and gaps – no airtightness
Villas are notoriously draughty – identify problem areas:
· Window and door frames
· Skirtings and floors
· Chimneys
· Vents in ceilings
Seal properly with weather stripping around windows and doors, or sealant (silicon caulking) – if this has been done previously it may need renewing
Check window structures and hinges – retrofit with new double or triple glazed windows (PVC or thermally broken aluminium can be retrofitted into original timber window frames)
Install effective insulation
If replacing wall linings, skirtings or floors, seal the joins properly with tape or sealant
Block off old chimneys no longer in use
Dampness – mould and rot, mustiness and smells
Check the underfloor space for moisture and ventilation
Clear ventilation grilles in the foundation walls or add new grilles to improve air flow
Install effective underfloor damp proof layers and insulation
Replace any rot-damaged timbers
Asbestos
The first check for any renovation is to assess for asbestos in the structure and materials – this must be done by a properly qualified professional
Removal and disposal of asbestos must be undertaken by a properly qualified professional
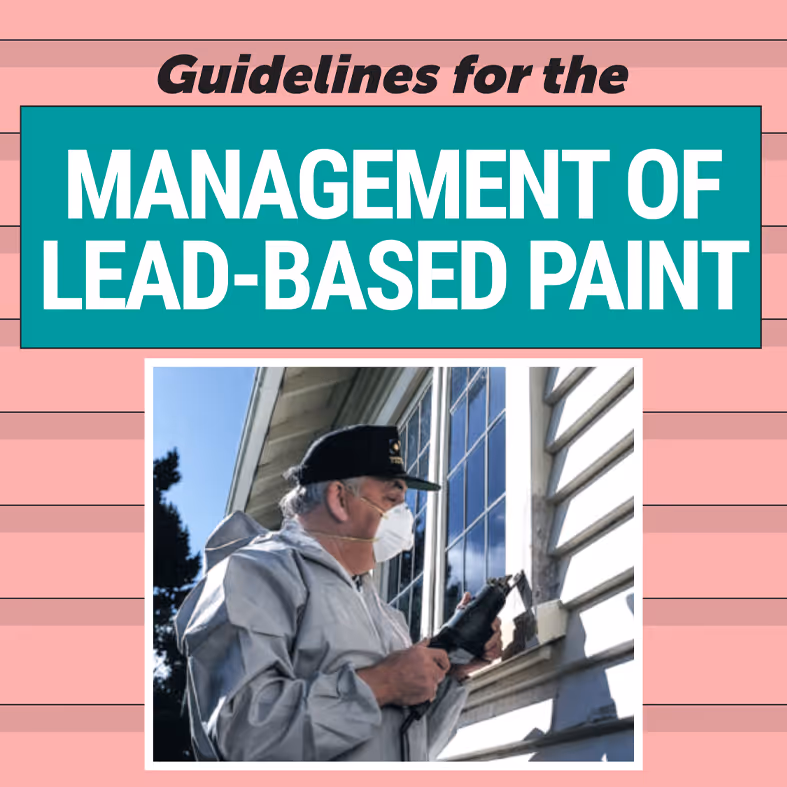
Lead paint
There will very likely be layers of old lead paint especially in kitchens, bathrooms and service areas – this may be covered over by later layers of other paint
Lead paint must be taken off using proper protective equipment – respirator mask, goggles and gloves – use a tarpaulin so it does not get into the ground and contaminate the soil
Do not dry sand the paint as this will create dangerous dust
Lead paint must be safely disposed of – check with your local council for regulations and collection for hazardous waste
Worksafe Guidelines: DOWNLOAD PDF
Rodent nests
Tackle these with extreme caution using proper protective equipment – mask and gloves – use a tarpaulin or strong bin bag and dispose of the nest and other material safely
CLADDING
Timber weatherboards – may be untreated timber and have moisture, rot or borer damage
Assess the extent of damage and replace with new weatherboards or other cladding
Check around:
· Corners and joins
· Windows and door frames
· Exposed areas, especially where vulnerable to wind driven rain or extreme sun exposure that would dry and shrink the timber
· Previous renovations that may have compromised the weathertightness of the building
While borer infestations will likely be long gone the holes remain and create significant risks for moisture getting in to the wall cavity or ceiling space
Depending on your budget, you may wish to choose timber and linings treated with more natural products such as CHECK WITH DAN
No waterproofing layers or building membrane
Retrofit suitable moisture proofing – either from within (stripping the internal linings and installing membrane and insulation before re-lining) or from outside (stripping the cladding and working outwards)
No insulation in walls
Strip off the exterior cladding and retrofit:
· Insulation
· Moisture proofing membrane layer
· New exterior claddings
An alternative to avoid disruption or problems with the existing exteriors is “outsulation” – putting on a thermally-efficient wrap system over the existing weatherboards or cladding – this can include additional framing, water resistant and air control layers, and insulation panels inside a new external cladding
Lead paint
There will very likely be layers of old lead paint especially in kitchens, bathrooms and service areas – this may be covered over by later layers of other paint
Lead paint must be taken off using proper protective equipment – respirator mask, goggles and gloves – use a tarpaulin so it does not get into the ground and contaminate the soil
Do not dry sand the paint as this will create dangerous dust
Lead paint must be safely disposed of – check with your local council for regulations and collection for hazardous waste
Worksafe Guidelines: DOWNLOAD PDF
Borer
Assess the extent of damage and replace with new weatherboards or other cladding
While borer infestations will likely be long gone the holes remain and create significant risks for moisture getting in to the wall cavity
WINDOWS
Original double-hung sash windows – single glazed
Check window structures and surrounds:
· Seal any gaps between the window frame and the walls to avoid draughts and heat loss
· Replace old compromised putty or other window seals
· Repair or replace any joinery that has suffered from dampness, rot, or warping
Retrofit with new double or triple glazed windows (PVC or thermally broken aluminium can be retrofitted into original timber window frames)
Timber frames give a significant advantage in terms of thermal efficiency – however it does require maintenance and making sure the weatherproofing is in good condition
Recess the new retrofit windows within the wall to align with the line of the insulation – to avoid heat loss and significantly improve the thermal efficiency of the home
The internal systems (weights and cords) of original sash windows may likely be compromised and may have been given DIY or inexpert repairs over the years – for energy efficiency and smooth operation these should be properly repaired by a qualified tradesperson – this can include removing the interior casings to renew the cords and realign the weights before resealing the frame
Bay windows
As for sash windows
In particular for bay windows, check structures and surrounds for weathertightness, especially in areas exposed to wind driven rain or in full sun where the timbers may have suffered shrinking or warping:
· If the bay window extends outside the main exterior wall, check underneath for any dampness, rot or subsidence that may compromise the window structure
· If the bay window has its own separate roof structure (possibly cedar shingles) check for cracking, corrosion, rot or other damage and replace
Lead paint on sashes and frames
There will very likely be layers of old lead paint especially in kitchens, bathrooms and service areas – this may be covered over by later layers of other paint
Lead paint must be taken off using proper protective equipment – respirator mask, goggles and gloves – use a tarpaulin so it does not get into the ground and contaminate the soil
Do not dry sand the paint as this will create dangerous dust
Lead paint must be safely disposed of – check with your local council for regulations and collection for hazardous waste
Worksafe Guidelines: DOWNLOAD PDF
Inadequate sealing and flashings
Identify areas where sealing or flashings are damaged, corroded or compromised and replace
Check for underlying damage to timbers from poor seals and flashings – water may have travelled some distance within the structure, finding the lowest pathway or point within the house’s internal linings, and a leak or water damage may appear some way away from the ingress point
Previous renovations putting in inappropriate or poor quality windows
Many older homes will have had some or all of the original windows replaced with 1960s, 70s or 80s joinery:
· Non-thermally broken aluminium windows
· Bi-fold doors or ranch sliders
· Early PVC products
· Louvre windows in bathrooms (alumimium)
These will be inconsistent with the period look of the home, as well as providing very poor energy efficiency as they result in significant heat loss from the home
Replace with new windows and doors, with appropriate sealing and weathertight flashings:
· Timber frames
· Thermally broken aluminium
· PVC
ROOFS
Corrugated iron
Original iron sheets were much shorter than today’s long run iron, resulting in multiple overlapping points or joins across the roof – this creates significant issues with weathertightness and moisture
Most homes of this era will have already had some or all of the roof replaced by now, although this may have been undertaken in the 1960s, 70s or 80s and may be compromised
Check for any problem areas and any resulting damage to the roof structure, ceilings or internal structures below
Replace with new long run steel roofing or other roofing (tiles, shingles)
Lack of insulation or inadequate retrofitted insulation
Most homes of this era will have had some insulation installed from the 1970s onwards, but by now this will likely be inadequate for today’s energy efficiency standards
Check any previous retrofitted insulation – replace with new properly efficient insulation
Make sure that the insulation is far enough away from the roofing structure to avoid condensation
Install effective moisture proofing layers to protect the insulation from damage
No roofing underlay
Original homes of this era would not have had a roofing underlay, although some which have had previous renovations may have had an earlier form of underlay put in – however this may not still be in good condition
Roofing underlay is now required under the Building Code E2 External moisture (with a few exceptions):
GO TO LINK
When upgrading insulation or undertaking any roof repair or replacement, install effective new underlay over the roof framing for:
· Protection against water getting in to the roof structure
· Absorbing condensation that forms on the underside of the roof
· Reducing air movement in the roof space
· Fire protection
Inadequate moisture control in ceiling space
Most roof spaces of this era had poor or no ventilation (except draughts and gaps)
This commonly results in the air in the roof cavity becoming laden with moisture – from the warmth and activity of people in the house below, or from leaks due to poor weathertightness
When temperatures fall, this moisture condenses on the underside of the roofing material, and can cause mould, rot, or otherwise compromise the timbers and any insulation material:
GO TO LINK
Key factors are:
· Making sure that the insulation is far enough away from the roofing structure to avoid condensation
· Installing effective moisture proofing layers to protect the insulation from damage
· Reducing moisture in the air inside the home – with a proper balanced ventilation system, or other practical steps like ducted extractor fans in kitchens and bathrooms
Skillion roof on rear lean-to areas
A major area of vulnerability to weather damage, damp and rotting of roof structures
Check for any problem areas and any resulting damage to the roof structure, ceilings or internal structures below – especially at the join to the main structure
Replace with new long run steel roofing or other roofing (tiles, shingles, membrane roofing for low pitch structures)
A separation is required between roofing underlay and insulation in a skillion roof to avoid risks of moisture affecting the insulation
Retrofit substantial flashings along the join to the main structure to protect from wind driven rain and other moisture problems
Guttering and drainage
Many villas of this era had a complicated roof structure with two gables and a central gutter running to the rear of the house – this can be a vulnerable area for leaks, uplift, and failure of flashings
Check for any compromised points and follow through to check for any damage to the roof framing or internal structures below
Repair and replace guttering – or renew the roof with a cleaner profile to avoid such problems
Lead-head nails
Lead-head nails were commonly used for villa roofs of this era, but can likely result in problems with rust or the nails popping up as the roof framing timbers dry over time
This creates weathertightness issues and water getting in to the roof space – as well as releasing lead into the environment
Check your roofing carefully for missing or compromised nails – replace with galvanised nails or screws
Check for any lead nail remnants in the guttering and dispose of these properly – check with your local council for regulations and collection for hazardous waste
VENTILATION
No ventilation system
The only ventilation in the original villas of this era was from the draughts, from opening windows, and via the open fireplaces
If you are investing in improving the insulation, airtightness and internal moisture control of your villa, you should consider installing a proper balanced ventilation system with heat recovery – to remove moisture and stale air, and bring in fresh air – heat is transferred from the stale inside air to the incoming air, to help maintain a consistent indoor temperature as well as manage any dampness issues
Musty interiors – smells and mould
Some rooms in older houses may have mustiness, mould or mildew, particularly:
· Bathrooms, kitchens or lean-tos at the rear of the villa
· In houses in shady gullies with little natural sunlight
· If leaks or moisture has compromised the cladding, framing or internal linings causing rot
· After flooding
Mould can be a major health hazard and can cause allergic reactions, respiratory problems, asthma, eye irritations, sore throats and skin rashes – some moulds produce toxic compounds, such as Stachybotrys (a greenish black mould that grows on timber, fibreboard, wallpaper and other materials
Mould must be dealt with properly to ensure the safety and wellbeing of people living in the home:
GO TO LINK
If you suspect toxic mould, you should use proper protective equipment (mask or respirator, gloves, protective clothing to cover your skin) to take a sample for testing – if it is contaminated with toxic mould it should be removed by a qualified professional
You may have to remove and replace ceiling panels, wall linings, carpets or other contaminated materials, which should be properly disposed of
For lesser areas of mould, use protective gloves and mask – clean with bleach solution or other mould-removal products, and make sure the area dries completely afterwards – dispose of the cleaning materials carefully
Key factors to prevent mould recurring include:
· Ventilation and good airflow
· Insulation
· Removing and replacing any rotted timbers or linings
· Minimising internal moisture
REFERENCE LINKS

Building Consents
Structural building – additions, alterations, re-piling and foundation work, and some demolitions
Complete or substantial replacement of a specified system
Replacing exterior wall cladding that has failed within 15 years of installation resulting in damage to the wall framing
Demolition of an internal masonry chimney that is load-bearing (supporting roof rafters and ceiling joists)
Plumbing and drainage where an additional sanitary fixture is created
Installing a woodburner or air-conditioning system
Decks more than 1.5 metres above ground level
Consent Exemptions
General repair, maintenance and replacement of a component or assembly of the building using a comparable component or assembly in the same position – UNLESS it has failed to comply with the Building Code requirements for durability such as external moisture problems with wall claddings
Replacing metal roof cladding (IF it has lasted more than 15 years to meet Building Code durability requirements)
Replacing an old clay tile roof with a metal roof in the same position
Replacing old rotten wooden piles with new treated timber piles in the same positions, UNLESS the work is a complete or substantial replacement
Replacing doors and windows with new aluminium doors and windows in the same position
Repair or replacement of damaged masonry veneer wall cladding
Removal of a building element from a building that is not more than 3 storeys, PROVIDED THAT the removal does not affect the primary structure of the building, any specified system, or any fire separation:
GO TO LINK
Removing a brick chimney on an external wall
Primary structure: walls, foundations, floors and roofs
Weathertightness
Fire safety systems
Full contact details
Address or location description of the site
Expected start and completion dates, and how possible delays will be dealt with
Contract prices and the payment process
Description of the building work including materials and products to be used (if known)
Which party is responsible for obtaining building consents and other approvals required
Who will be carrying out and/or supervising the workRemoving a brick chimney on an external wall
How defects will be remedied
How variations will be agreed before work continues
Dispute resolution process
SERVICES:
Electrical
SERVICES:
Plumbing
SERVICES:
Drains
SERVICES:
Levelling & Earthworks
SERVICES:
Landscaping